
The search intent behind "good astrophotography spot" is usually practical: you have found a dark-looking place on a map and want to know whether it is worth the drive. Darkness matters, but it is only one part of the decision. A location can have excellent skies and still fail because the horizon is blocked, the foreground is messy, the wind is exposed, or the route is not realistic at night.
Treat a spot like a field tool, not a pin. The best locations help you make repeatable decisions: when to go, what targets work there, which direction has a clean view, and what conditions make the site better or worse than your backup option.
The short version
A good astrophotography spot has dark enough skies for the subject, a clear horizon in the direction you need, safe and predictable access, room to set up without fighting traffic or lights, a foreground that improves the frame, and a weather profile you understand before you leave.
The best test is not "is this place dark?" It is "what can I shoot from here on a specific night, and what would make me choose this spot over another one?" That framing keeps scouting tied to real sessions instead of collecting locations you rarely use.
Start with the target, not the map color
A dark sky map is useful for narrowing the search, but the target decides whether the spot fits. A Milky Way core composition needs a different horizon and foreground than a galaxy session, a moonrise alignment, or a wide star trail. Before committing to the location, name the subject and direction.
If the target is low in the south, a northern horizon will not save the plan. If the foreground only works toward a bright town, the darkest overhead sky may still produce a weak image. The same idea shows up in the Milky Way planning guide: season, direction, moonlight, and location have to agree before a session becomes worth protecting.
Judge the real horizon
Horizon quality is one of the easiest things to underestimate from home. Tree lines, ridges, buildings, fences, and local terrain can remove the most important part of the sky. A spot with a blocked horizon may still work for high targets, but it can be frustrating for low Milky Way compositions, early target windows, comet attempts, or moonrise photos.
When scouting, separate the horizon by direction. Write down which views are clean, which are blocked, and which have light domes. A site with a clean east and south view may be excellent for one plan and poor for another. That is more useful than giving the location a single vague rating. Use the local horizon recording guide to turn those directions into obstruction-angle measurements from your exact tripod position.
Look for repeatable access
Access is part of image quality because it decides whether you can arrive calm, set up early, and leave without guessing. A good spot has a clear legal parking option, a route that still makes sense after dark, enough space for your tripod, and no obvious conflict with gates, private property, or changing restrictions.
You do not need a perfect roadside pullout for every project. Remote sites can be excellent. But the harder the access, the more confidence you need in the sky. If cloud risk, moonlight, or target timing is marginal, a slightly less dark but easier backup spot may produce better work because you can actually execute the plan.
Check local light, not only regional darkness
Regional darkness can hide local problems. A single security light, passing headlights, a nearby farm, a campground, or a bright road bend can affect long exposures even when the broader area looks dark. The issue is not only brightness; it is direction, timing, and whether the light hits your foreground or lens.
On the first visit, notice where light enters the scene and whether you can move a few meters to shield it. Sometimes a small hill, tree, wall, or vehicle position makes the difference. If there is no way to control local light, mark the spot for targets facing away from the problem instead of treating it as a general-purpose location.
Foreground should earn its place
A good foreground gives scale, direction, or a reason for the viewer to stay in the image. It does not have to be dramatic, but it should be readable in the dark and placed where the sky event happens. Rocks, ridges, lone trees, paths, water edges, cabins, and silhouettes can all work when they support the target.
Ask whether the foreground improves the specific frame or only proves you were somewhere scenic. If it fights the target direction, forces awkward composition, or requires unsafe positioning, it is a scouting note rather than the reason to shoot there.
Weather exposure changes the decision
Two nearby spots can behave differently under the same forecast. One may sit in a valley that collects fog, while another is exposed to wind. One may have a cleaner horizon in broken cloud, while another loses its only useful view behind a low bank. A good spot is a place whose weather weaknesses you know.
This is where planning becomes more than checking a cloud percentage. The direction of clouds, the timing of clear breaks, and the target's part of the sky all matter. If you have not already built that habit, the guide to how cloud cover affects astrophotography planning is a useful companion to location scouting.
Match the spot to the moon
Moonlight can turn one location from excellent to unusable and make another better. A bright moon behind you may light a landscape foreground beautifully. The same moon near a faint nebula can flatten contrast. A site with a shielded view away from the moon can work on nights that would ruin a more exposed field.
Save moon notes with the spot: which directions tolerate moonlight, which foregrounds benefit from it, and which targets need the moon down. The broader tradeoff is covered in the moon phase planning guide, but the location decision is local: what does moonlight do from this exact place?
Build a simple scouting score
After visiting or researching a candidate, score it in plain language: darkness, horizon, access, local light, foreground, wind or fog exposure, and best target directions. Use "good for" and "bad for" notes instead of a single number. That keeps the spot useful months later when you are choosing between options.
A practical note might read: "Good south and east horizon, easy parking, town glow northwest, exposed in wind, strong ridge foreground for spring Milky Way, not worth it under broken low cloud." That sentence is more actionable than a saved pin with no context.
A good astrophotography spot is the place where the subject, horizon, access, foreground, moonlight, and weather all leave enough margin for the session to succeed.
When to reject a promising spot
Reject or demote a spot when it depends on a blocked horizon, requires rushed setup, points your best composition toward heavy light pollution, has unreliable access, or only works under perfect weather. Those flaws do not mean the location is useless, but they do mean it should not be your default plan.
The most reliable location lists include specific use cases. One spot might be your moonlit landscape option. Another might be your deep-sky site when the moon is down and the wind is calm. Another might be close enough for work nights. That is how scouting becomes a planning system instead of a folder of pins.
Where DarkScout fits
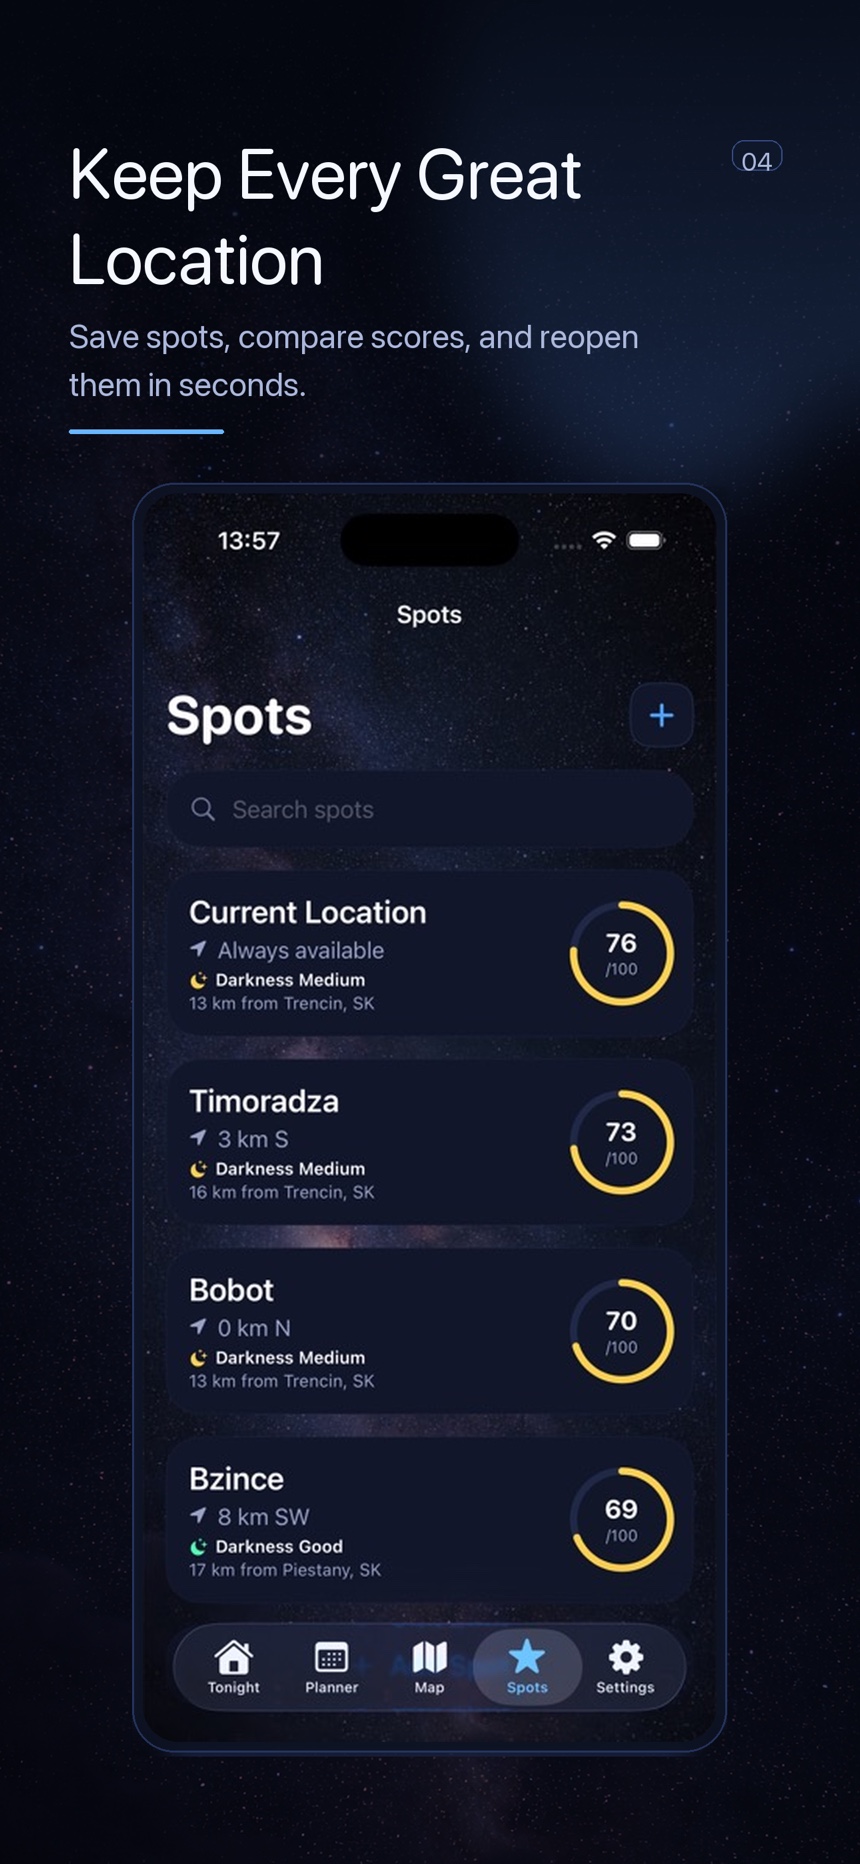
DarkScout is useful after you have a few candidate places because it helps compare saved spots against the night you actually have. Use the Astro Score, moon impact, cloud context, and spot list as a first pass, then apply your field notes about horizons, foregrounds, and access before choosing where to drive.
The goal is not to find one perfect location. It is to build a small set of dependable spots, each with a clear job. When the forecast, moon, target, and horizon line up, you can spend less time wondering where to go and more time making the image.
Put the plan in your pocket.
Check clouds, Moon conditions, and saved observing spots with DarkScout.
Get DarkScout for iPhone All features free · iOS 26 or later