Cloud cover affects astrophotography in two ways: it can block the target, and it can reduce contrast even when the target is technically visible. That second part is why a "mostly clear" forecast can still produce flat Milky Way frames, weak nebula detail, or halos around bright stars.
The best planning question is not "will there be clouds?" It is "will clouds affect the subject, sky direction, and exposure time I care about?" A passing cloud deck before sunset is noise. Thin high cloud during a galaxy run is a real problem. Low clouds on the northern horizon might not matter for a southern Milky Way composition.
Do not plan from a daily cloud percentage
A single cloud percentage for the day hides the only hours that matter. Astrophotography happens inside a narrow overlap of darkness, target altitude, moon position, and access. A night that reads 45 percent cloudy can be excellent if the clear gap lines up with astronomical darkness. A night that reads 15 percent cloudy can fail if that cloud sits over your target during its best hour.
Treat the forecast as a timeline. Check whether cloud cover improves or worsens after twilight, whether the clear gap is long enough for setup plus exposures, and whether the break happens before or after the target reaches a useful altitude. This is the same planning logic behind a good go or no-go astrophotography check: one strong number is less useful than the right conditions overlapping.
Low, middle, and high clouds do different damage
Low clouds can end the session outright
Low cloud usually matters most because it can block large sections of sky, hide horizons, and move fast enough to make a clear gap unreliable. If your composition depends on a low Milky Way arch, a moonrise, or a target that never climbs high, low cloud near that horizon is often a no-go.
Middle clouds break long integrations
Patchy mid-level clouds are frustrating for tracked work because they interrupt sequences. One or two cloudy frames are easy to reject. Repeated cloud bands can turn a planned two-hour integration into a scattered set of short usable runs, which may not be worth the drive for faint galaxies or nebulae.
High cloud and haze steal contrast
High thin cloud can look harmless when you step outside, but it spreads moonlight and city glow across the sky. Stars may still show. The problem is that the background brightens and faint structure fades. For Milky Way dust lanes, faint nebulae, and galaxies, high haze can be the difference between a clean file and one that never processes well.
Match cloud tolerance to the subject
Different subjects have different cloud tolerance. A wide landscape with bright stars can survive a few passing clouds if the composition still works. Star trails can even use cloud motion creatively, as long as the sky does not close completely. A deep sky target is less forgiving because every interrupted exposure reduces total usable integration time.
Milky Way work sits in the middle. A few clouds can add atmosphere to a foreground frame, but thin haze over the core lowers contrast quickly. If the goal is a detailed Milky Way panorama, protect the clearest part of the night. If the goal is a single memory from a trip, a partly cloudy gap may be enough.
Clouds and moonlight multiply each other
Moonlight changes the cloud decision. Thin cloud on a moonless night may only soften contrast. The same cloud under a bright moon can scatter light through the whole frame. That is why moon phase alone is not enough. You need to know whether the moon is up, where it is relative to the target, and whether clouds give that light something to bounce off.
If the moon is bright and clouds are forecast, lean toward subjects that tolerate light: lunar close-ups, bright constellations, star trails, or location scouting. If you are planning faint deep sky work, be stricter. The moon phase planning guide covers the moon side of that decision in more detail.
Use direction, not just coverage
Cloud cover is often directional. A forecast map or satellite loop can show whether clouds are arriving from the west, clearing to the east, or parked over mountains near your target direction. For landscapes, compare that movement with the azimuth you need. For deep sky work, compare it with where the target will be during the useful window.
This is where spot choice matters. If one location gives you a clean southern horizon and another has clouds building over that direction, the darker location may not be the better plan. A practical dark sky location choice includes sky direction, access, and weather exposure, not only map darkness.
A practical cloud decision checklist
Before you commit to a drive, ask five questions. First, what is the subject and how much cloud can it tolerate? Second, does the clearest gap overlap with darkness and target altitude? Third, are clouds in the same direction as the composition? Fourth, will moonlight or city glow scatter through thin cloud? Fifth, is the clear window long enough to justify setup, travel, and teardown?
If clouds are the only weak factor, switch to a more forgiving subject or a shorter session. If clouds combine with bright moonlight, low target altitude, or a long drive, save the serious target for a better night.
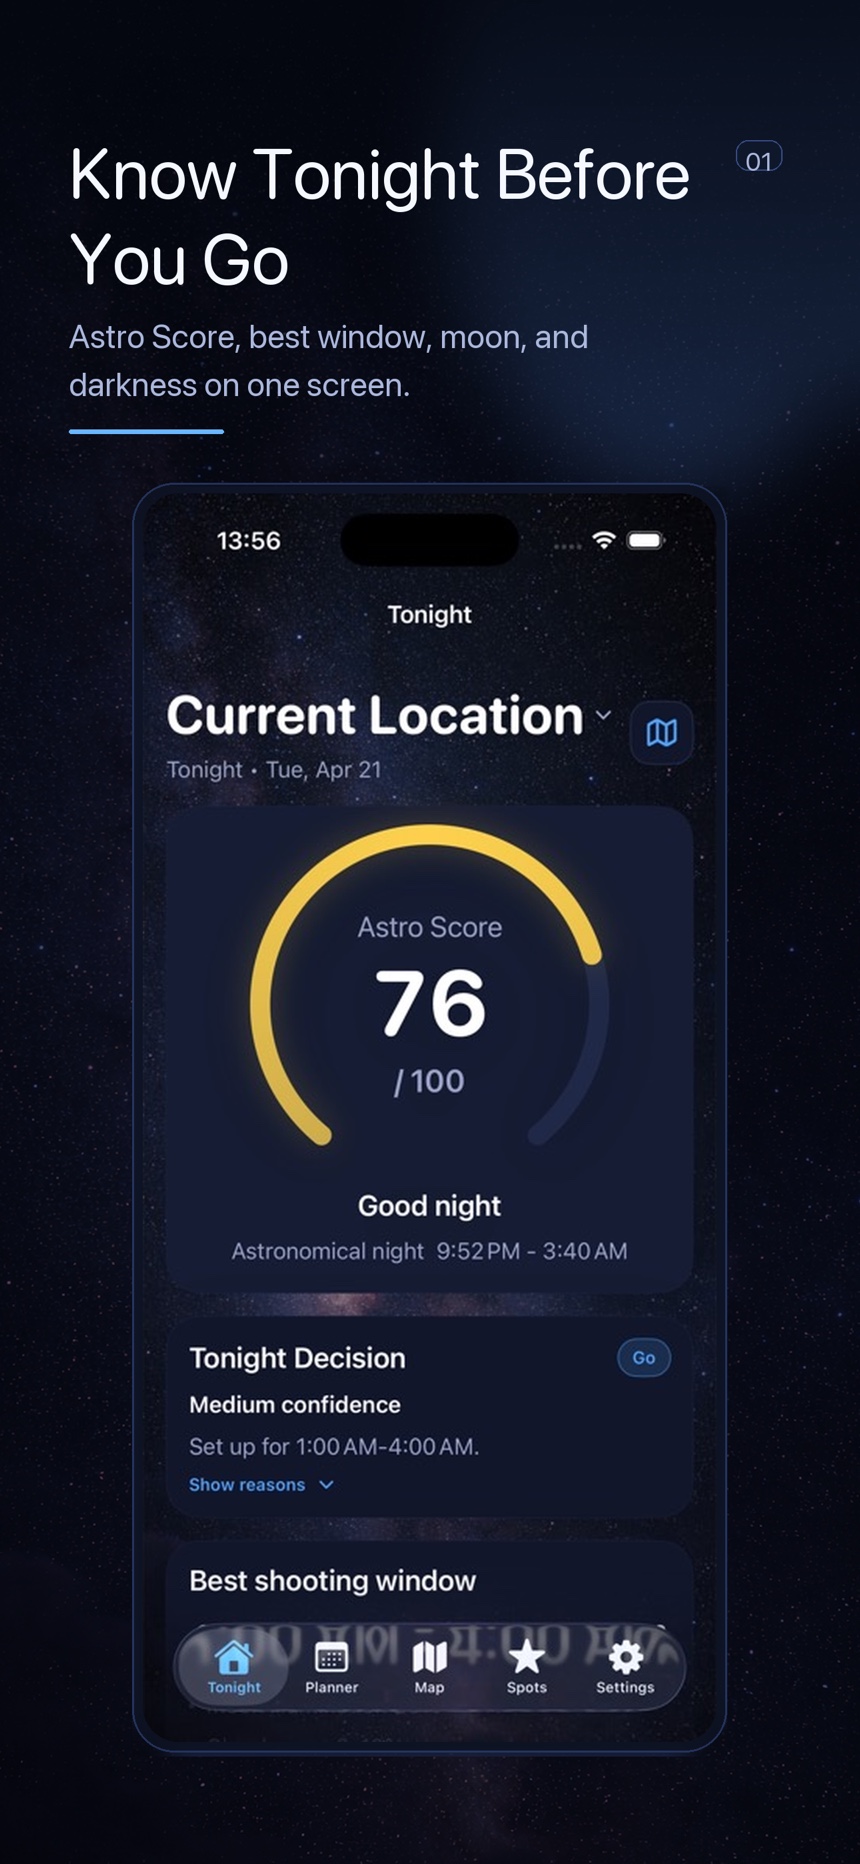
Where DarkScout fits
DarkScout helps turn clouds into a planning decision instead of a forecast rabbit hole. The Tonight view puts cloud context next to Astro Score, moon impact, and the best shooting window, so you can see whether the sky lines up with the session you had in mind.
The goal is not to chase perfect conditions every time. It is to match effort to opportunity. Some partly cloudy nights are worth a quick local session. Some deserve a target swap. Some are better spent charging batteries, checking the next window, and waiting for the sky to make a stronger case.