Most astrophotographers start location scouting with light pollution. That is sensible, but it is only one layer. A place can be dark and still fail because the southern horizon is blocked, the road is closed at night, headlights sweep across the foreground, wind funnels through the valley, or the weather pattern is worse than a slightly brighter spot nearby.
The best dark sky locations are not simply the darkest. They are the locations where darkness, access, view, safety, and weather overlap.
Start with darkness, then get practical
Light pollution maps are useful for finding candidate areas. They help you avoid obvious city glow and identify darker corridors within reasonable driving distance. But a map does not know where you can park, which roads are gated, whether a ridge blocks the Milky Way core, or whether the spot feels safe at 2 AM.
Use light pollution as the first filter, not the final answer. Build a shortlist, then score each spot against real shooting needs.
Check the horizon for the direction you need
Horizon matters because astrophotography is directional. A Milky Way composition may need a clean view to the south or southeast, depending on season and location. A galaxy or nebula session may need a clear view where the object rises and culminates. A location with beautiful darkness but trees in the target direction can waste the best hours of the night.
When scouting in daylight, stand where the tripod will be and scan the directions you actually need. Look for trees, ridgelines, buildings, power lines, nearby lamps, and anything that could sit in the frame or block a low target. Take notes. A spot that is great for northern star trails may be poor for a southern Milky Way composition.
Balance driving distance with usable time
The darkest location is not always the best choice. If the best window is only 90 minutes long, a three-hour drive may be a poor trade. A slightly brighter spot close to home can be better for testing gear, catching short cloud breaks, or shooting on work nights.
Think in terms of total effort. How long is the drive? How predictable is access? How much setup time do you need? How likely are you to return? Repeatable locations often beat perfect-but-rare locations, especially while you are learning.
Watch for local light sources
Regional light pollution is one thing. Local light is another. A single farm lamp, road curve, hotel, ski slope, parking lot, or passing traffic pattern can affect a composition. These sources may not show up clearly on broad maps, but they can create glare, gradients, and frustration in the field.
If possible, visit candidate spots at dusk or during a bright moon night before committing a rare dark window. Notice where vehicles pass, which lights stay on, and whether your foreground faces away from the strongest glow.
Prioritize safety and legality
No photo is worth trespassing, unsafe roads, unstable terrain, or a risky pull-off. Check whether the location is public, whether night access is allowed, and whether seasonal closures apply. Tell someone where you are going if you will be alone. Bring a headlamp, warm layers, backup power, and enough margin to leave if the spot feels wrong.
A safe, legal, repeatable location becomes more valuable over time because you learn its patterns. You learn where wind hits, where dew forms, which foregrounds work, and which targets clear the horizon.
Compare spots by session type
For Milky Way landscapes, foreground and direction are central. For deep sky work, stable setup, low wind, and a clean target path may matter more than a dramatic foreground. For meteor showers, you may want a wide open sky and comfortable all-night access. For moonrise and moonset images, foreground alignment may beat raw darkness.
Save different spots for different jobs. One "best" location is less useful than a small collection of known locations with clear strengths.
Darkness, target direction, horizon, parking, legal access, local lights, wind exposure, cell coverage, weather pattern, and whether you would feel comfortable returning alone.
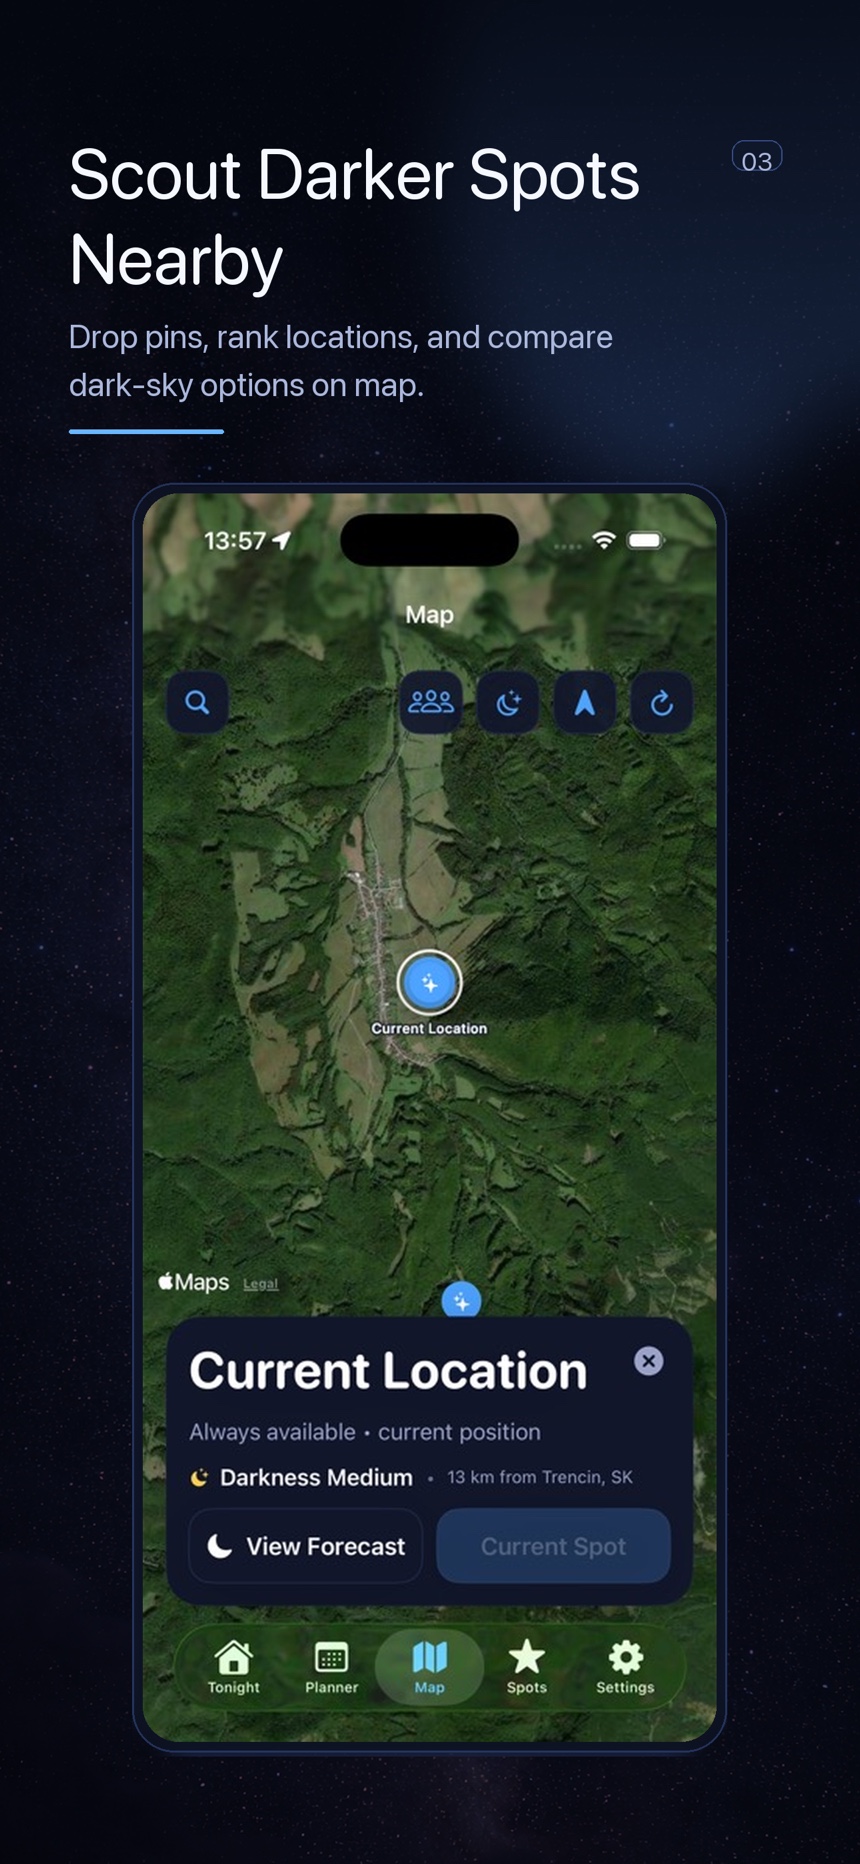
Where DarkScout fits
DarkScout treats spot choice as part of the planning workflow, not a separate map chore. You can connect saved locations, night conditions, target windows, and horizon-aware planning so the spot is judged by the image you are trying to make. That is the difference between finding a dark area and finding a place that actually works.