
For an equatorial mount, a blocked view of Polaris does not automatically end the plan. Choose a documented alignment route whose equipment and required sky views you can actually provide. Check those requirements before committing to a tripod position.
Separate alignment from pointing
PHD2's polar-alignment overview distinguishes physically aligning the mount's right-ascension (RA) axis with the celestial pole from ordinary two- or three-star GoTo alignment, which corrects pointing.
NINA's plate-solving guide describes finding a captured image's pointing center. A solved image can be an input to an alignment procedure; by itself, it does not establish mechanical polar alignment.
Keep separate entries for the procedure you completed and the target you centered. This makes a later handoff to imaging easier to understand than one unchecked note saying that the mount is ready.
Choose a method for the available views
Compare the documented reference views with the view from the actual setup position. The horizon-profile worksheet helps retain position, sighting height, and obstruction notes. Recheck the relevant opening on site.
| Documented method | View to establish |
|---|---|
| PHD2 traditional drift alignment | A meridian/equator field, plus an eastern or western field 23–35° above the horizon. |
| PHD2 static or polar-drift tools | The polar region. These tools still require a polar view. |
| Three Point Polar Alignment | The complete three-position RA path and correction field, within the author's documented restrictions. |
A hidden star and a missing region are different constraints. Write down which required view you have checked and which is still unknown; the method name alone does not establish that the site is suitable.
Plan the traditional drift checkpoints
The PHD2 drift tutorial starts with a level, balanced rig, rough polar direction and latitude setting, correct guide-camera scale inputs, and valid calibration for the relevant side of the pier.
Near the meridian and celestial equator, use Drift until the declination slope is stable, switch to Adjust, change the mount's azimuth, then measure again. At the eastern or western reference field, repeat for altitude. Follow the tutorial's controls and keep your own adjustment notes; a universal knob direction or completion time would not describe every setup.
Before travelling, turn those two stages into two view checks in your notes. If either remains unverified, resolve it at the site before relying on this route. Keep the source instructions available rather than reconstructing the procedure from memory.
Check a three-point route
The author's Three Point Polar Alignment FAQ describes a camera, a working plate solver for the current optics, a correctly configured site, and an equatorial mount movable in RA. Automatic movement requires ASCOM MoveAxis support; manual mode can work without a mount connection.
Its three capture positions use RA-only movement with tracking, followed by altitude/azimuth correction. Prefer a poleward field around 15° altitude or higher where practical. Avoid exact east/west or zenith during correction, very low fields, and runs crossing the meridian during measurement or correction. Check the full route, not only the first image, and follow the FAQ's current instructions.
Record the chosen mode and the views you inspected. If you change the position or equipment, revisit the affected checks before treating the earlier record as evidence for the new setup.
Complete the pre-session checklist
- Choose one supported route: save its current manual URL, software version, required equipment, and the steps you still need to verify.
- Check capture and any solving dependency: NINA's documentation calls for the actual pixel size, effective focal length, and configured solver. Establish that the setup can produce a usable result.
- Inspect the required views: keep the opening or route checks with the recorded tripod position. An unchecked direction remains unknown.
- Prepare the record: keep instructions and a place for adjustment notes available during setup.
- Make the handoff explicit: record whether the procedure is complete before revising the imaging plan around the time that remains.
Choose the next action
| What remains unresolved | Useful next action |
|---|---|
| A required view has not been checked | Inspect it from the setup position or choose another documented route. Retain the gap in the record. |
| Only the first position has been verified | Complete the remaining route checks before marking the method ready. |
| A capture, calibration, or solving check fails | Resolve the failed dependency and repeat its check. Keep a failed result separate from an accepted one. |
| The alignment procedure remains incomplete | Record that status and revise the imaging plan. Keep the unfinished step visible instead of assigning an unsupported result. |
The useful outcome is a traceable decision about this setup. Save what supported it, including an unresolved question. If a later adjustment changes the result, add the new check with its time rather than erasing the earlier record.
Copy the setup record
This is a blank planning record, with no claimed alignment result or field test.
- Route: method, manual URL, software version, selected mode, and equipment used.
- Position: private site reference, tripod position, sighting height, and views checked.
- Dependencies: checks completed, their results, failed items, and what needs repeating.
- Procedure: dated start/end, adjustment notes, recorded result with its units and context, or incomplete status.
- Handoff: intended target, revised session plan, remaining uncertainty, and next action.
Connect readiness to the sky window
Once the equipment checks are complete, compare the time available with your target's useful window. The meridian-flip guide covers a separate interruption that can occur during an equatorial imaging session.
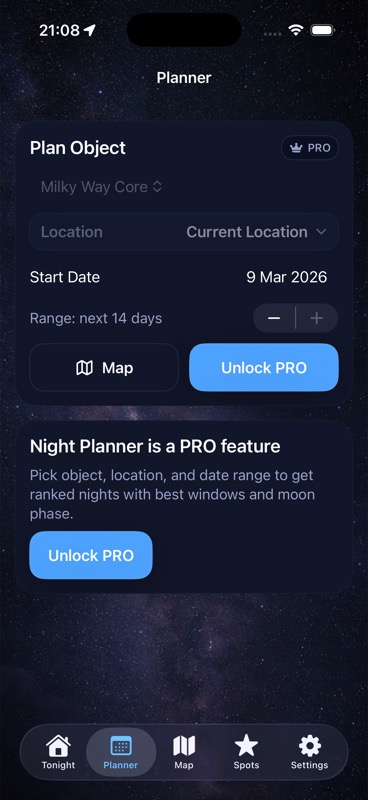
Use the equipment's alignment software for its procedure, then bring Moon, cloud, observing-spot, and target-window context together with DarkScout. The Planner image above illustrates that planning view.
The current App Store listing offers the free iPhone app, requiring iOS 26 or later.
Give the target a useful window.
Compare Moon and cloud conditions with your observing spot and intended subject.
Get DarkScout for iPhone All features free · iOS 26 or laterSources and further reading
Primary equipment instructions and public app information checked November 13, 2026. Use the current procedure for your equipment and hemisphere.