
Try ProRAW when your supported iPhone offers it and you want to work on the image after capture. For a quick photo with little editing, start with your usual format. Make the choice with a small comparison of your own files and intended edit, rather than assuming that the RAW label guarantees a better star photo.
ProRAW and Night mode answer different questions
Apple's ProRAW overview explains that ProRAW combines RAW information with iPhone processing and can be used with Night mode. It is not an unprocessed sensor frame. ProRAW uses DNG files; turning RAW off returns to your selected HEIF or JPEG capture format.
Apple's Night mode instructions describe an automatic low-light capture feature. Its yellow icon indicates that it is active; the displayed number indicates the capture time. Keep the phone still until capture finishes.
Treat the format and capture state as separate entries in your notes. A comparison labeled only “RAW versus Night mode” leaves out whether Night mode was active in both photos.
Check the phone and editing route first
Use the supported-model link and the iOS version selector in Apple's current ProRAW guide. In its iOS 27 instructions, Camera Controls includes a Format menu. The available options and preservation setting depend on the phone; follow the matching guide rather than copying another model's screen.
Choose one editing task before you leave: for example, a sky color you want to adjust or a foreground brightness you want to compare. Decide what would make the edit useful at the size you intend to share.
Check free space and open a sample in your intended editor before leaving. Apple notes that ProRAW files are larger and recommends a ProRAW-compatible editor. The Photos app is one supported route.
Make a useful comparison at the scene
This is a proposed personal comparison, not a reported field test or a controlled measurement of format alone. Begin with the support, framing, and first-frame checks in our iPhone star-photography guide.
- Keep the setup comparable. Use the same supported camera, framing, support, and scene. Note clouds, stray light, and anything that changes between captures.
- Record both controls. Before each shot, note the selected format, Night mode state, and capture time shown. Wait for the capture to finish before changing a control.
- Make the second capture. Change the format and recheck the other controls. If the phone offers a different capture time or the scene changes, retain that difference in the record.
- Repeat in reverse order. If the window permits, reverse the format order. Keep all filenames with their notes so you can see whether the apparent preference repeats.
- Review the saved files. Inspect the same star group, dark sky area, and foreground in each. Compare both at the intended output size and at a matching enlarged view.
- Try the planned edit. Work toward the same stated result. Keep the edit steps and time spent beside the files, including cases where neither version meets your goal.
One pair cannot isolate automatic capture and processing changes. If one image used a different camera or capture time, describe the result as a comparison of those two complete captures. An unresolved result is a reason to repeat the check, not to declare a winning format.
Choose a format for the next session
| What you found | Useful next step |
|---|---|
| Your usual photo meets the sharing goal | Keep that workflow for the session. Save the comparison for a future editing question. |
| The ProRAW edit is preferable for your stated task | Retain the original, edit notes, and storage plan. Repeat the comparison when the setup changes. |
| The captures used different conditions or controls | Keep the differences visible and repeat a closer comparison before attributing the result to format. |
| Neither output is useful | Return to support, framing, and the sky window. Define the next check before collecting more files. |
Keep the original and check the export
In Photos, open the photo and swipe up or tap Info. Apple's photo-information guide describes the available file and camera details. Record what is shown; leave missing fields unknown. Check the saved dimensions where available instead of inferring them from a camera option's name.
Apple's ProRAW overview distinguishes the original DNG from a shared edited JPEG. Test your chosen transfer route, reopen the received file, and check which version arrived before relying on it as the retained original.
Copy the comparison record
Use this blank record for your own checks.
- Setup: phone, iOS, camera app, selected camera, support, and private scene reference.
- Capture pair: dated times, order, filenames, format selection, Night mode state, and displayed capture time.
- Saved evidence: available file type, dimensions, size, and any changed conditions or unknown fields.
- Edit: editor/version, intended output, adjustments, time spent, and the versions compared.
- Decision: preferred workflow and reason, unresolved check, retained original, and verified export destination.
Plan a window worth comparing
Use the Moon-planning guide for the subject and interval you want, and the spot checklist for the actual view.
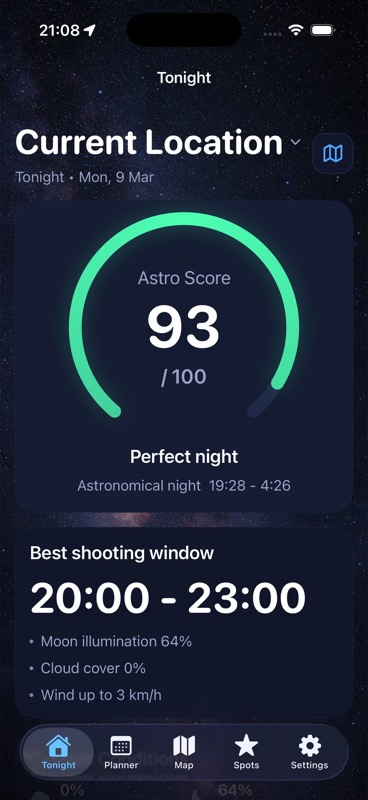
DarkScout brings Moon, cloud, and saved-spot context together before the session. Make the captures and edits in the camera and photo apps you selected. The current App Store listing offers DarkScout free for iPhone, requiring iOS 26 or later.
Choose a useful night for the comparison.
Bring Moon, clouds, and your observing spot into one plan.
Get DarkScout for iPhone All features free · iOS 26 or laterSources and further reading
Primary camera instructions and public app information checked November 15, 2026. Use the guide version and supported-model information that match your phone.