
Choose a candidate crescent-Moon window, check its position from your observing spot, and decide what the finished photograph should show. At the camera, review the faint lunar surface and bright crescent separately. Keep the test frames before choosing the next adjustment.
NASA explains Earthshine as sunlight reflected by Earth onto the Moon and then back toward us. It can reveal the otherwise dark part of the lunar face with a faint glow. The subject is that illuminated surface alongside the directly sunlit crescent.
Define the photograph before choosing settings
Write one sentence describing your intended result: a faint lunar disk with its crescent, or a wider scene that includes the Moon. Decide whether you intend to retain a single capture or make a clearly labeled blend. This gives your frame review a purpose.
If a building or landscape must align with the Moon, work through the Moonrise foreground guide too. Keep that alignment requirement beside the Earthshine goal; a promising composition still needs a useful lunar view.
Check a local crescent window
NASA's Moon viewing tips say Earthshine can sometimes be seen during the crescent phase at twilight or dawn. Treat that as a candidate to investigate, rather than a promise for a particular evening.
- Set the place and date: use the observing location and its local time zone.
- Check the lunar interval: note the Moon's direction, altitude, and rise or set time for your proposed session.
- Check the actual opening: identify where the lunar path meets your visible horizon and where you can set up.
- Reserve a review point: leave time to inspect a test photograph before committing the session.
USNO's rise/set definitions use a level, unobstructed horizon; local topography can change the observed timing. Inspect the view from your intended camera position.
Use the Moon-phase planning guide for broader moonlight decisions. For this session, keep the local lunar window and intended Earthshine image together in one record.
Inspect a captured test frame
NASA's lunar photography guide recommends choosing the image you want and experimenting with your equipment. Use stable support and the controls your camera provides. A universal exposure recipe cannot account for every camera and intended result.
Capture a test, then inspect the saved image rather than relying only on the live preview. Record two findings: what you can distinguish on the faint disk, and what remains in the bright crescent. Change one available control at a time and keep the corresponding file identifier. That comparison is more useful than an unrecorded series of adjustments.
Read HDR references carefully
NASA's Crescent Moon HDR example explains that Earthshine is much dimmer than the sunlit arc. Its featured image combines different exposures of the bright and faint regions. The finished composite is a processing example, not a promise of that appearance in one capture or through your eyes.
If you choose a blend, retain its source frames and describe the combination when sharing it. If you choose a single capture, compare your candidates on that basis. Decide the output honestly before judging whether the session met its goal.
Choose the next step from the actual view
| What you find | Next action |
|---|---|
| The Moon is hidden from the setup position | Recheck the local opening or choose another accessible window. |
| The bright arc appears, but the faint disk is unclear in the saved frame | If exposure time is adjustable, compare a longer exposure; record the faint-disk result and any lost bright-crescent detail. |
| A new frame favors one lunar region over the other | Retain both versions and judge them against the stated output goal. |
| The captured outline is unclear | Check focus and support before drawing conclusions about Earthshine. |
| The available view does not meet the goal | Revise the composition or defer the Earthshine attempt. |
Copy the Earthshine session record
- Window: date, local zone, start and stop time, and planning source.
- Place: private spot reference, camera position, and visible opening.
- Goal: intended lunar detail, framing, and single capture or labeled blend.
- Setup: camera, lens, support, and controls used.
- Comparison: file IDs, actual settings, faint-disk finding, and bright-arc finding.
- Outcome: selected file or source set, unfinished checks, and next action.
Put the Moon window in context with DarkScout
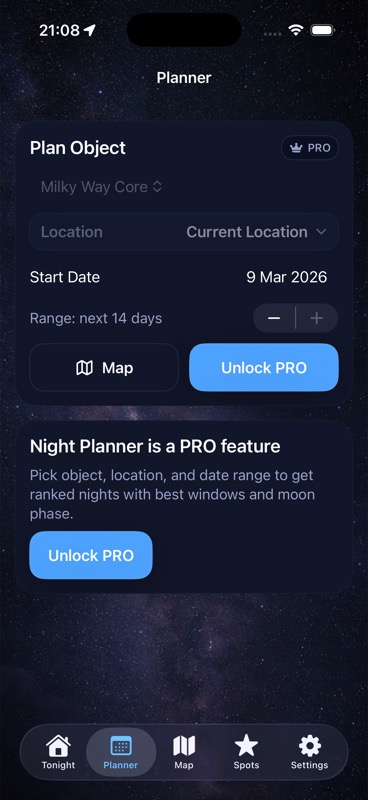
Use DarkScout's Moon illumination, rise/set, and altitude information alongside clouds and observing spots where available. Moon illumination percentage is not an Earthshine brightness prediction. Keep the exposure decisions with your camera workflow. The Planner image above illustrates planning context.
The current App Store listing offers the free iPhone app, requiring iOS 26 or later.
Build a plan around the local Moon window.
Compare the Moon, clouds, and observing spot before preparing your photograph.
Get DarkScout for iPhone All features free · iOS 26 or laterSources and further reading
Scientific guidance and public app information checked November 6, 2026.
- NASA Earth Observatory: Earthshine — reflected light on the lunar face.
- NASA: Moon Viewing Tips — crescent viewing context.
- NASA: Lunar Photography Guide — photographic goals and equipment.
- NASA APOD: Crescent Moon HDR — an explicitly composited example.
- USNO: Rise, Set, and Twilight Definitions — horizon assumptions.