
Andrew T. Young's SDSU explanation defines relative airmass as the air along a sightline divided by the amount toward the zenith, directly overhead. It equals one there.
For the overall scheduling decision, use the deep-sky target-window guide. This guide explains how to interpret the quantity you may find in a chart or observing record.
Read what the number represents
Use airmass as one entry in your target comparison, keeping its source and method. Check the observing conditions separately before committing to an interval. A smaller number alone does not complete the plan.
Check a simplified calculation
Young describes secant of zenith distance as a flat-atmosphere approximation.
Let altitude h be 30° above an ideal horizontal plane, so zenith distance z = 90° − h = 60°. In this straight-ray model, Xmodel = sec(z) = 1 / sin(h) = 2. This is no actual target, time, or location calculation.
Keep the model label when copying the result. Do not turn the example into a universal instruction to double exposure time.
Keep the method with the value
Young explains that atmospheric structure, refraction, and apparent-versus-geometric angles matter. Check the documented input convention. The simple approximation is unsuitable for reliable horizon predictions.
The ESO MIDAS manual's airmass discussion explains that an exposure's mean value can differ from its midpoint value. Record whether a supplied number represents an instant or a mean; do not silently substitute one for the other.
- Identify the quantity: read what the source calls airmass.
- Retain the method: keep the formula or documentation reference.
- Check the input convention: note the angle definition and any stated model limits.
- Keep the context: target, location, full date, and time basis.
- Leave gaps explicit: mark undocumented assumptions as unknown.
If two tools disagree, compare those entries before picking the result that looks more favorable. Preserve the original outputs so a later correction remains traceable.
Separate airmass from conditions
Las Cumbres Observatory's scheduling guidance explains that atmospheric throughput depends on wavelength and site. It also describes how tightening an airmass constraint can shorten the available observing window. Its scheduler examples are specific to that observatory, not universal camera limits.
ESO's observing-condition definitions distinguish transparency, atmospheric turbulence, and image quality; image quality is evaluated at the observation's airmass and wavelength. An airmass entry does not replace those separate condition checks.
Read the seeing-versus-transparency guide when deciding which atmospheric condition matters for your subject. Keep forecast claims separate from what you actually observed.
Compare the available intervals
Use the same target and observing site for a first comparison. Build one record per candidate interval and retain the reason for your choice.
| What you have | Useful next action |
|---|---|
| Comparable values with a documented method | Compare the candidate intervals, then check the remaining conditions. |
| Different tools or undocumented angle conventions | Resolve the method before treating their numbers as equivalent. |
| A low-altitude result from the simple approximation | Consult the source's supported model and limits. |
| A tighter limit leaves too little usable time | Reconsider the target or session goal rather than copying another observer's cutoff. |
| The chosen interval has unsuitable actual conditions | Adapt or stop; keep the planned and observed entries separate. |
Copy the interval worksheet
The NOIRLab GMOS cookbook keeps airmass alongside date, time, target, filter, and exposure metadata. Borrow that record-keeping principle for this personal planning sheet; it does not provide a calibration procedure.
- Target and site: identifier and private location reference.
- Interval: dated start and finish with zone or UTC.
- Quantity: values, instant-or-mean labels, time references, and original source.
- Method: model, angle convention, and unresolved assumptions.
- Setup: camera, filter or band, and intended session goal.
- Other constraints: darkness, Moon, clouds, horizon, and available time.
- Decision: chosen interval, reason, and what requires an on-site check.
The cookbook's extinction material also uses site-dependent curves and coefficients. Copying a reference coefficient into this sheet would not establish the current transmission at your location.
Bring the target plan together
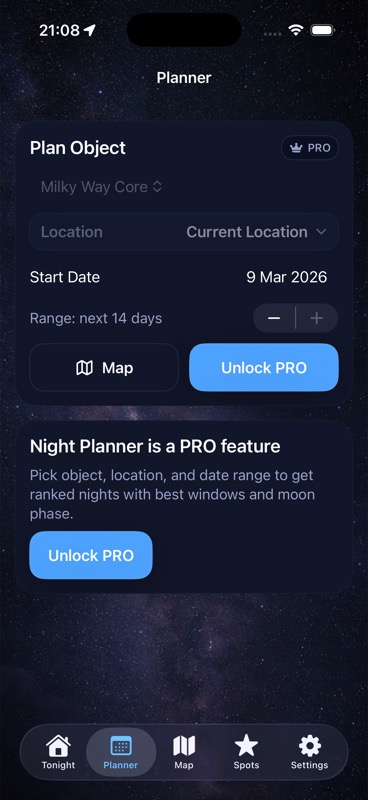
Use DarkScout to compare a target's altitude and useful window with Moon, cloud, and saved-spot context. Keep any external airmass calculation and its assumptions alongside that plan. The Planner image above illustrates the planning view; the app score is not an airmass measurement.
The current App Store listing describes the free iPhone app, requiring iOS 26 or later.
Keep the target and the night in one plan.
Compare the useful window with Moon and cloud conditions before heading to your observing spot.
Get DarkScout for iPhone All features free · iOS 26 or laterSources and further reading
Definitions, documentation, and public app availability checked November 3, 2026. The calculation above is an explicitly simplified example.
- Andrew T. Young, SDSU: Airmass — relative quantity, approximation, and model limits.
- Las Cumbres Observatory: Airmass Limit — scheduling constraints and throughput context.
- ESO: Observing Conditions — separate atmosphere and image-quality definitions.
- NOIRLab: GMOS Cookbook Supplementary Material — observing metadata and extinction context.
- ESO MIDAS: Airmass Calculation — means and midpoint values.